Fire-Resistant Landscaping Guide

March 17, 2025

Wildfires have always been an issue, but in recent years, they have begun to happen more and more frequently. While you might believe the chances of it happening to you are low, it’s always better to be safe and sorry.


Fire-resistant landscaping slows the spread of wildfires and can significantly reduce any potential fire damage and the chances of fires reaching your home.


While fire-resistant landscaping won’t be able to fully stop wildfires, especially more serious ones, it will slow down the spread and intensity as it reaches your home, giving you crucial time to escape or for firefighters to arrive and do their work.


Even for urban homes, fire-resistant landscaping can lower the chances of accidental fires from loose embers or cigarette butts.


In short, fire-resistant landscaping significantly enhances your home’s fire safety, whether you’re living in an urban or rural area.

If you’re wondering how to do this, you’re in luck.


For those looking for a professional to help them out, our team of experts at Louisville Landscape Pros will be glad to help you out.


For those looking to perform the fire-resistant landscaping themselves though, in this article, we’re going to be covering exactly how to go about keeping your home protected from wildfires and regular fires.


Key Principles


First off, this article isn’t going to be exhaustive.


There’s going to be things that we don’t cover. But by knowing the key principles, you can apply them to come up with your own strategies to make your outdoor space fire-resistant.
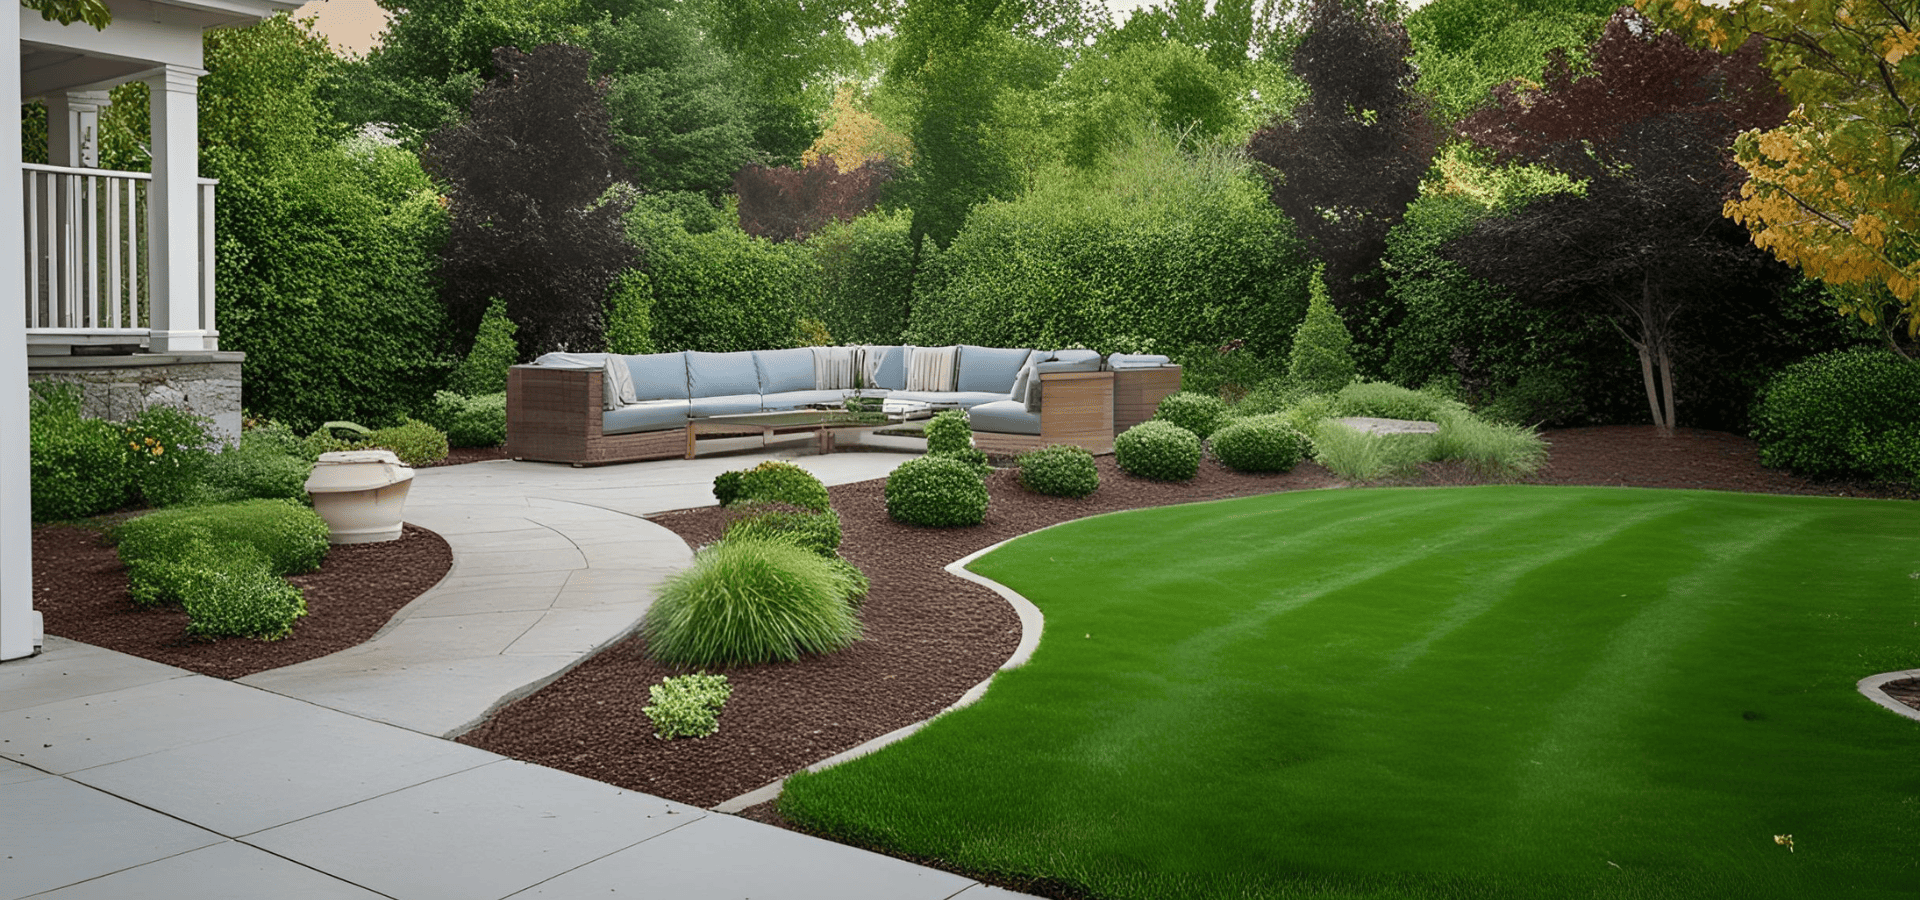

1. Defensible Zones

A landscape in Louisville with clear defensible zones

Defensible zones simply refers to any zone or area where you’ve specifically taken measures to control the spread of fire.


While ideally your entire outdoor space should contain no flammable materials at all, it’s hard to do that without sacrificing aesthetics.


As such, what’s usually done instead is that your outdoor space is divided into three different zones, starting with the closest one to your home to the furthest.


The closer the zone is to your home, the more resistant it should be to fire.


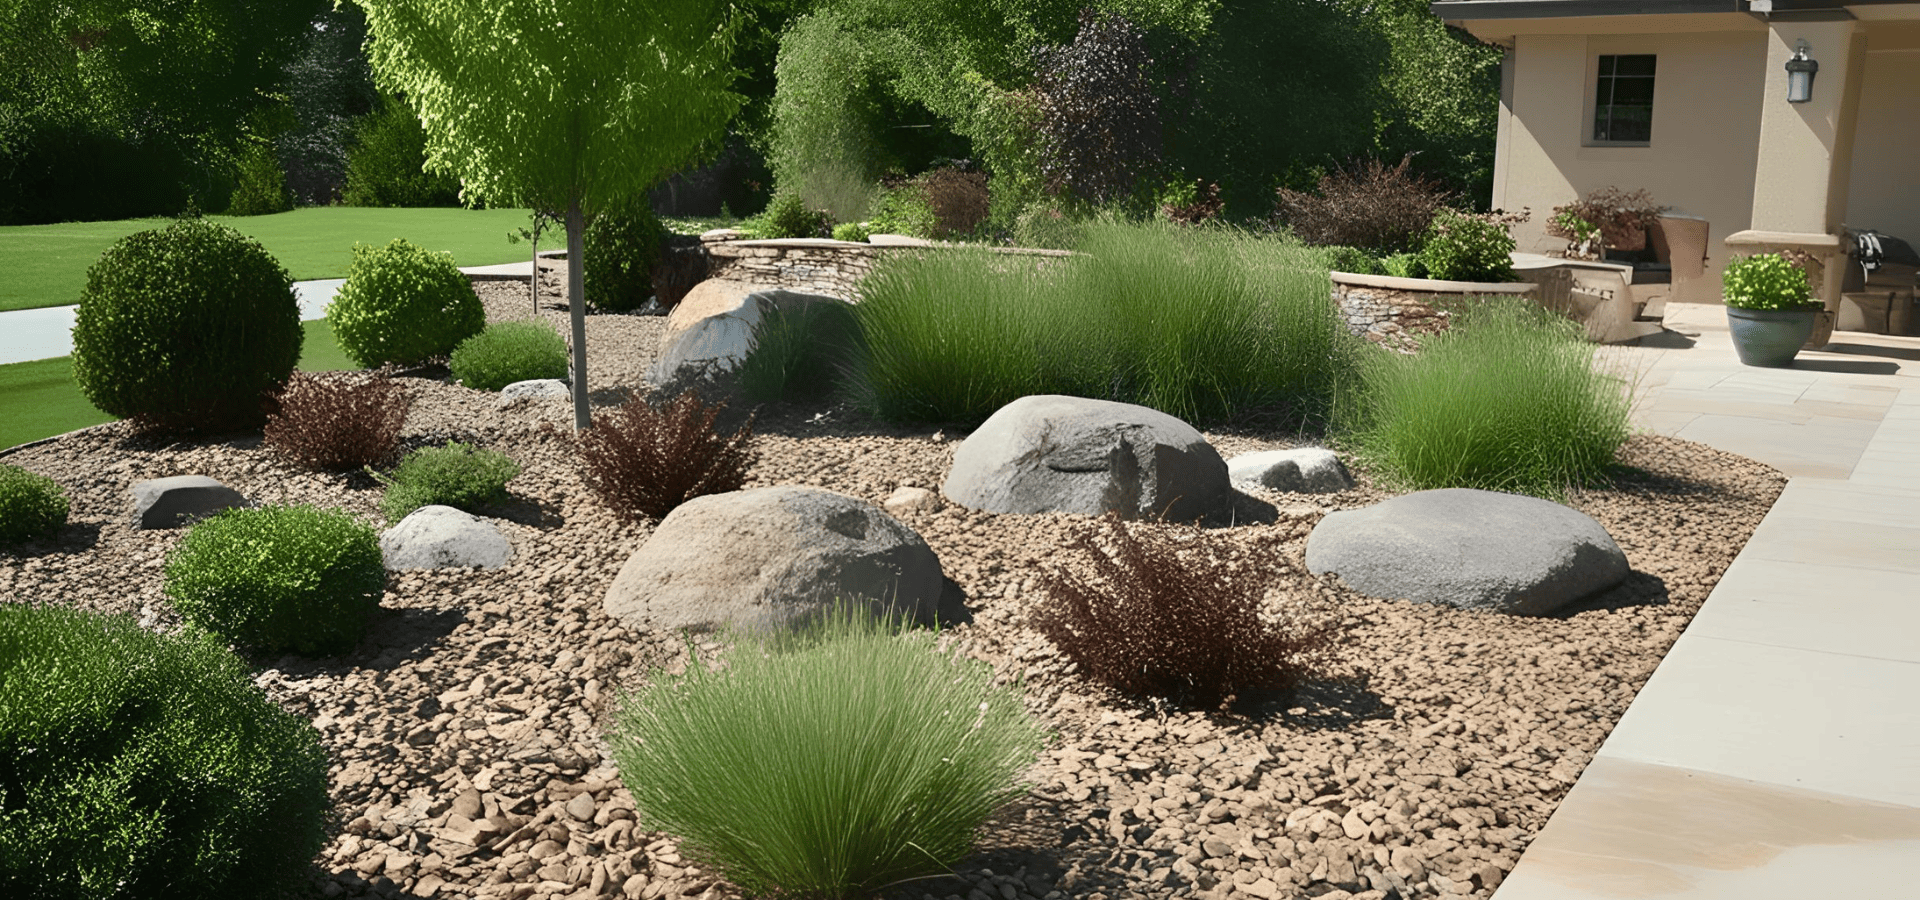
Starting with zone 1, the closest one to your home, this is your last defense. If your other two zones fail, this zone needs to have the highest chance of stopping the fire.


So for zone 1, there should be absolutely no flammable materials at all. Hardscapes made of non-flammable materials like stone are fine, but nothing like wood.


For plants, it’s actually best to not have any at all, but if you must, opt for low-growing plants so that there’s less fuel for the fire and when they do burn, they won’t travel upwards.


Zone 1 is usually the first 5 feet around your house.


Next, zone 2 is usually 5-30 feet from your home. While still trying to make it as resistant to fire as possible, you can ease up a little and include fire-resistant plants with high moisture contents.


Finally, zone 3 is anywhere above 30 feet. Here, you still don’t want to let up too much, but you have more freedom to include more plants and enhance your aesthetics more.


2. Fire-Resistant Materials & Plants


Fire-resistant landscaping depends heavily on fire-resistant materials and plants.


Of course, there are strategies like spacing your plants out and keeping them moist, but at its core, the most effective way to guard your home against fire is with fire-resistant plants and materials.


Basically, when you’re trying to create a fire-resistant outdoor space, you will need to plan the arrangement and maintenance properly, but the most important key is still fire-resistant materials and plants.


3. Emergency Access


Finally, the third key of fire-resistant landscaping is to ensure that you always have a way to escape quickly and for firefighters to do their job.


When fires do happen, if your fire-resistant landscape ends up blocking your exit route, then no matter how fire-resistant it is, it’s pointless. After all, the point of a fire-resistant landscape is to buy time for you to evacuate. If you can’t evacuate, it becomes pointless.


So these are the three keys of fire-resistant landscaping. There are other important factors of course, but these are the three most important ones. Now, let’s dive into how to carry out these three keys.


1. Fire-Resistant Plants


There aren’t any plants that are fire-proof or strictly non-flammable, but high moisture content, drought tolerance, and low oil levels will make your plant able to resist fire better, so those are the two key characteristics you’re going to want in your plants.


Drought tolerance may not directly correlate with fire resistance, but it helps a plant retain its fire resistance in dry conditions. Drought-resistant plants are better able to retain their moisture in dry climates, which means drought-resistant plants are fire-resistant even in dry climates.


Here are some fire-resistant plants for each plant type.


Trees

Box wood hedge around a garden to slow down the spread of fire

For trees that are low in oil, high in moisture, and drought-tolerant, there is:

  • Honey Locust: The honey locust turns a beautiful shade of yellow in the fall.
  • Olive Tree: Despite olive oil being extracted from olives, the tree itself is quite fire-resistant.
  • Red Maple: The red maple tree is another tree that brings beautiful colors in autumn, mainly shades of red.
  • Eastern Redbud: The eastern redbud blooms vibrantly in spring, bringing stunning shades of purple or pink to your garden.


Groundcovers & Shrubs


Now for the groundcovers:

  • Creeping Thyme: Creeping thyme is a spring-blooming, low-growing groundcover that, like the eastern redbud, brings beautiful shades of pink or purple.
  • Sedum: Sedums have unique, fleshy leaves that can store and retain lots of moisture.
  • Creeping Jenny: The creeping jenny is a very low-growing groundcover that has a saggy appearance. Given how low it grows, it’s a great candidate for defensible zone 2 and even zone 1.


And for the shrubs:

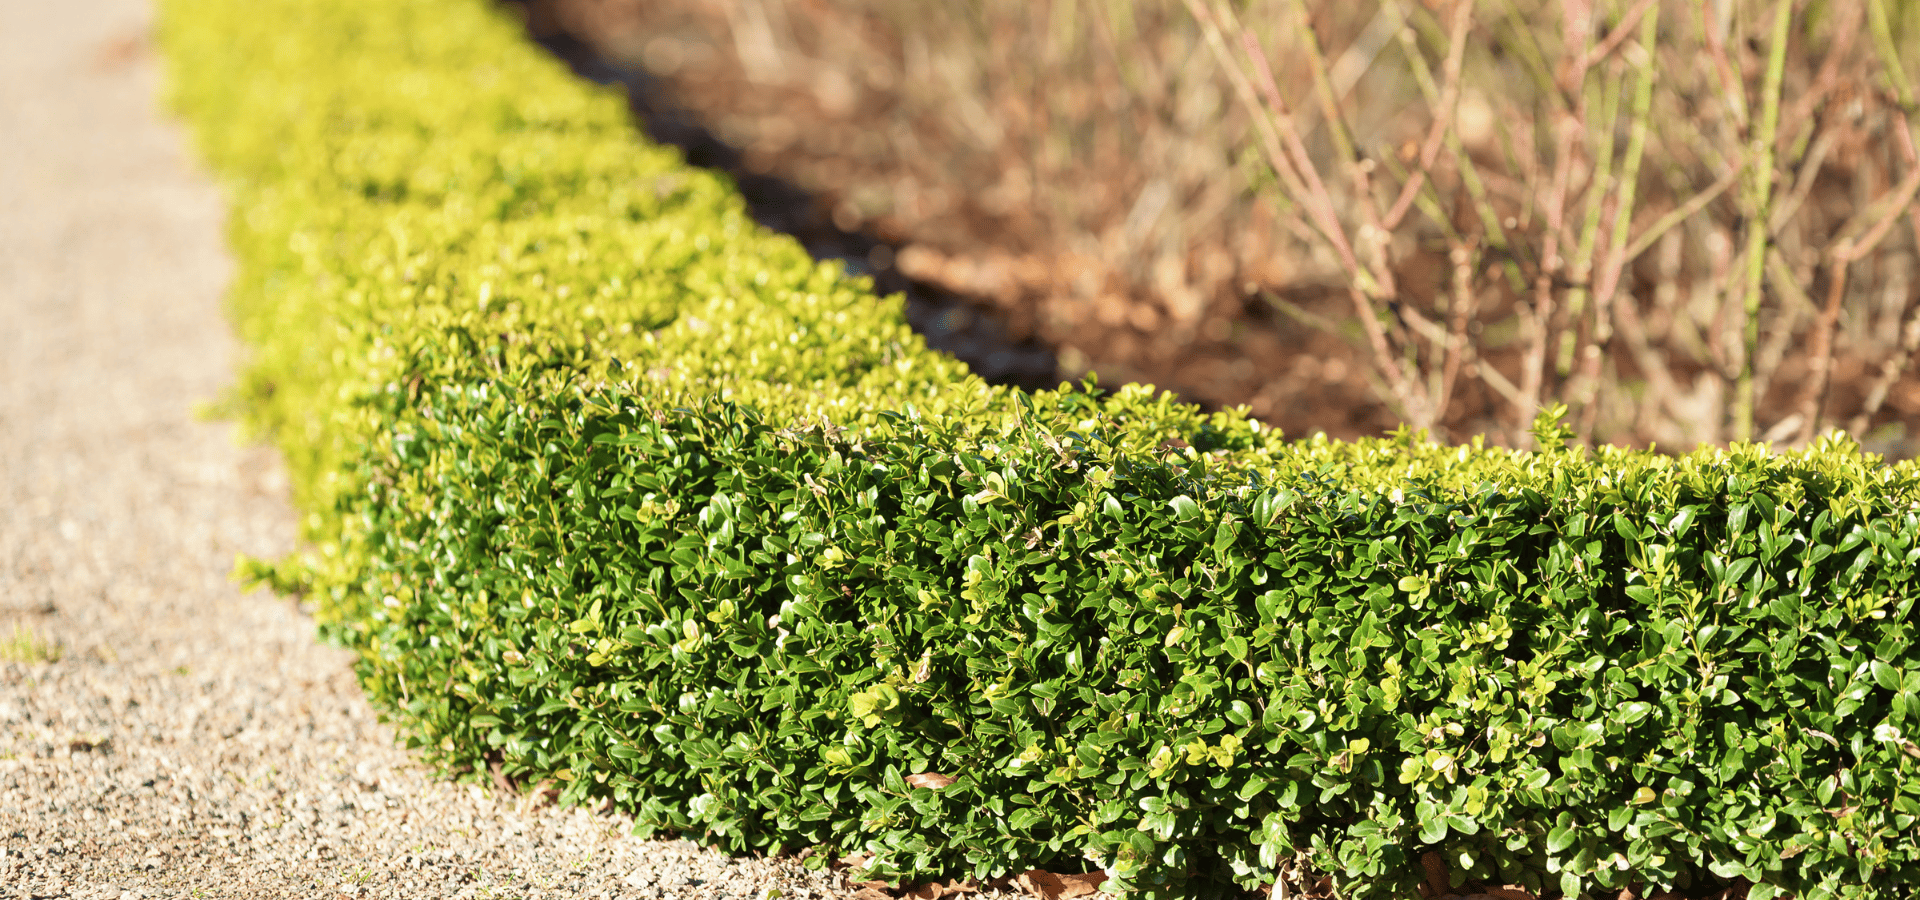
  • Boxwood: Boxwoods are commonly used for hedges, so if you’re thinking of having a fire-resistant hedge to block out fire, boxwood is a great candidate.
  • Japanese Yew: Japanese yews are fire-resistant and able to grow in a wide range of climates and conditions.
  • Spirea: Spirea shrubs bloom in the spring. Their appearance can be a little saggy, but their vibrant colors make up for it.


Flowers


Finally, for the flowers, here are our recommended plants:

  • Penstemon: One of my personal favorites for fire-resistant landscaping, penstemon flowers have extremely vibrant, bold colors that breathe life into your garden from late spring to early summer.
  • Verbena: Another one of my personal recommendations is verbena. Verbena flowers are also extremely bold and vibrant, and they usually bloom throughout summer, sometimes even into autumn.
  • Salvia: Salvia flowers have unique long flowers that resemble spikes and will make a unique addition to your aesthetics.


2. Fire-Resistant Materials


For fire-resistant materials, many materials are actually fire-resistant. These include:

  • Brick
  • Concrete
  • Metal
  • Gravel
  • Stone
  • Ceramic
  • Porcelain


Now for materials to avoid:

  • Wood (duh)
  • Untreated plastics
  • Organic mulches


So generally, as long as you stay away from the obvious flammable materials, you will be quite safe.


Note that not all wood is automatically flammable. Wood can be treated to be largely non-flammable. However, even treated wood isn’t completely flame-proof.


If you must, opt for treated wood. But even then, non-flammable materials will be safer.


3. Fire-Resistant Hardscaping

A fountain in the center of a fire-resistant landscape

Besides just using fire-resistant materials, the features you use them for and their placements will also affect your home’s fire resistance.


Here are great fire-resistant hardscapes as well as where to place them.


Fencing


Fencing made with non-flammable materials will help keep fires out of your property.


When made with stronger materials like brick or stone, they can be very effective in keeping fires out as they’re not only non-flammable, but can withstand high heats without collapsing or breaking down.


Needless to say, the thicker the fence the better, though it may not always be viable due to aesthetic concerns.
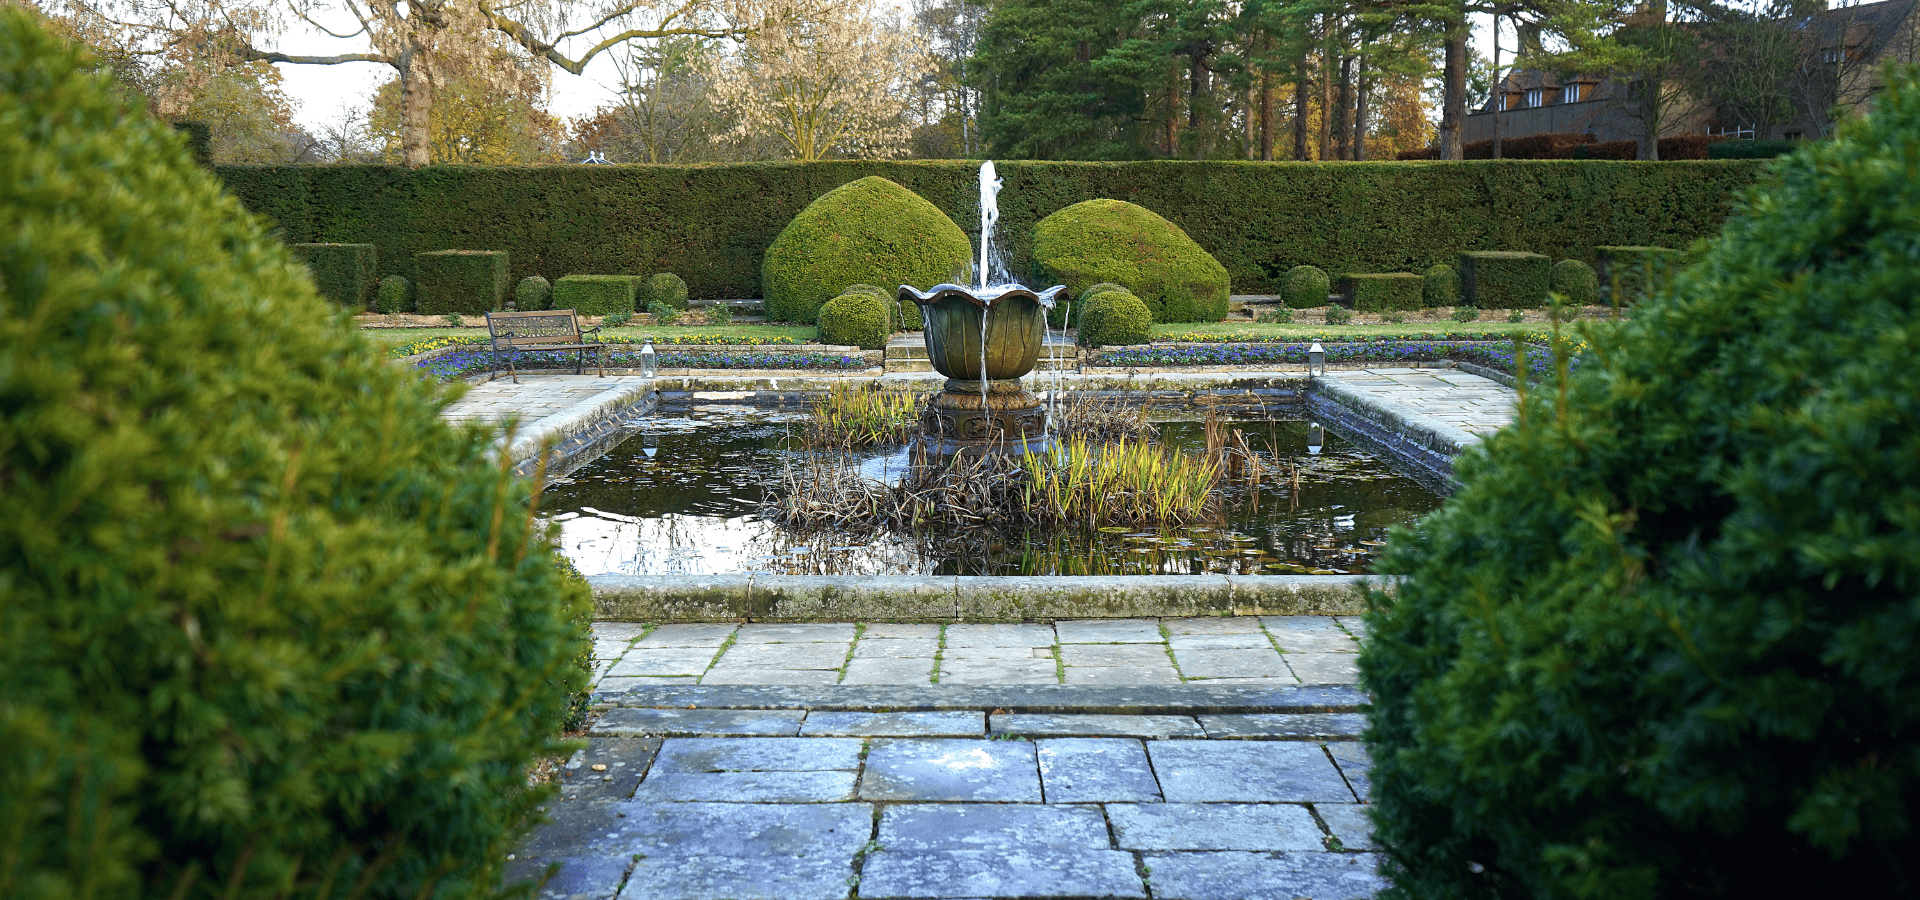

Water Features


Water features, by nature of being water features, are extremely hard for fires to get past.


While they may not have any defined role in fire-resistant landscaping like acting as a barrier, it’s still good to have features that are pretty much flame-proof to slow the spread of fires.


Paths And Walkways


Non-flammable paths and walkways are also key elements in slowing down the spread of fire. Your garden may catch fire, but when the fire reaches your fire-resistant walkway, it will be unable to spread any further unless it’s fierce enough for the embers to jump over the path or walkway.


They essentially act as firebreaks to break up the spread of the fire.


Final Tips


So these are just a few strategies for fire-resistant landscaping. Again, this list definitely isn’t exhaustive, but will serve as a good starting point.


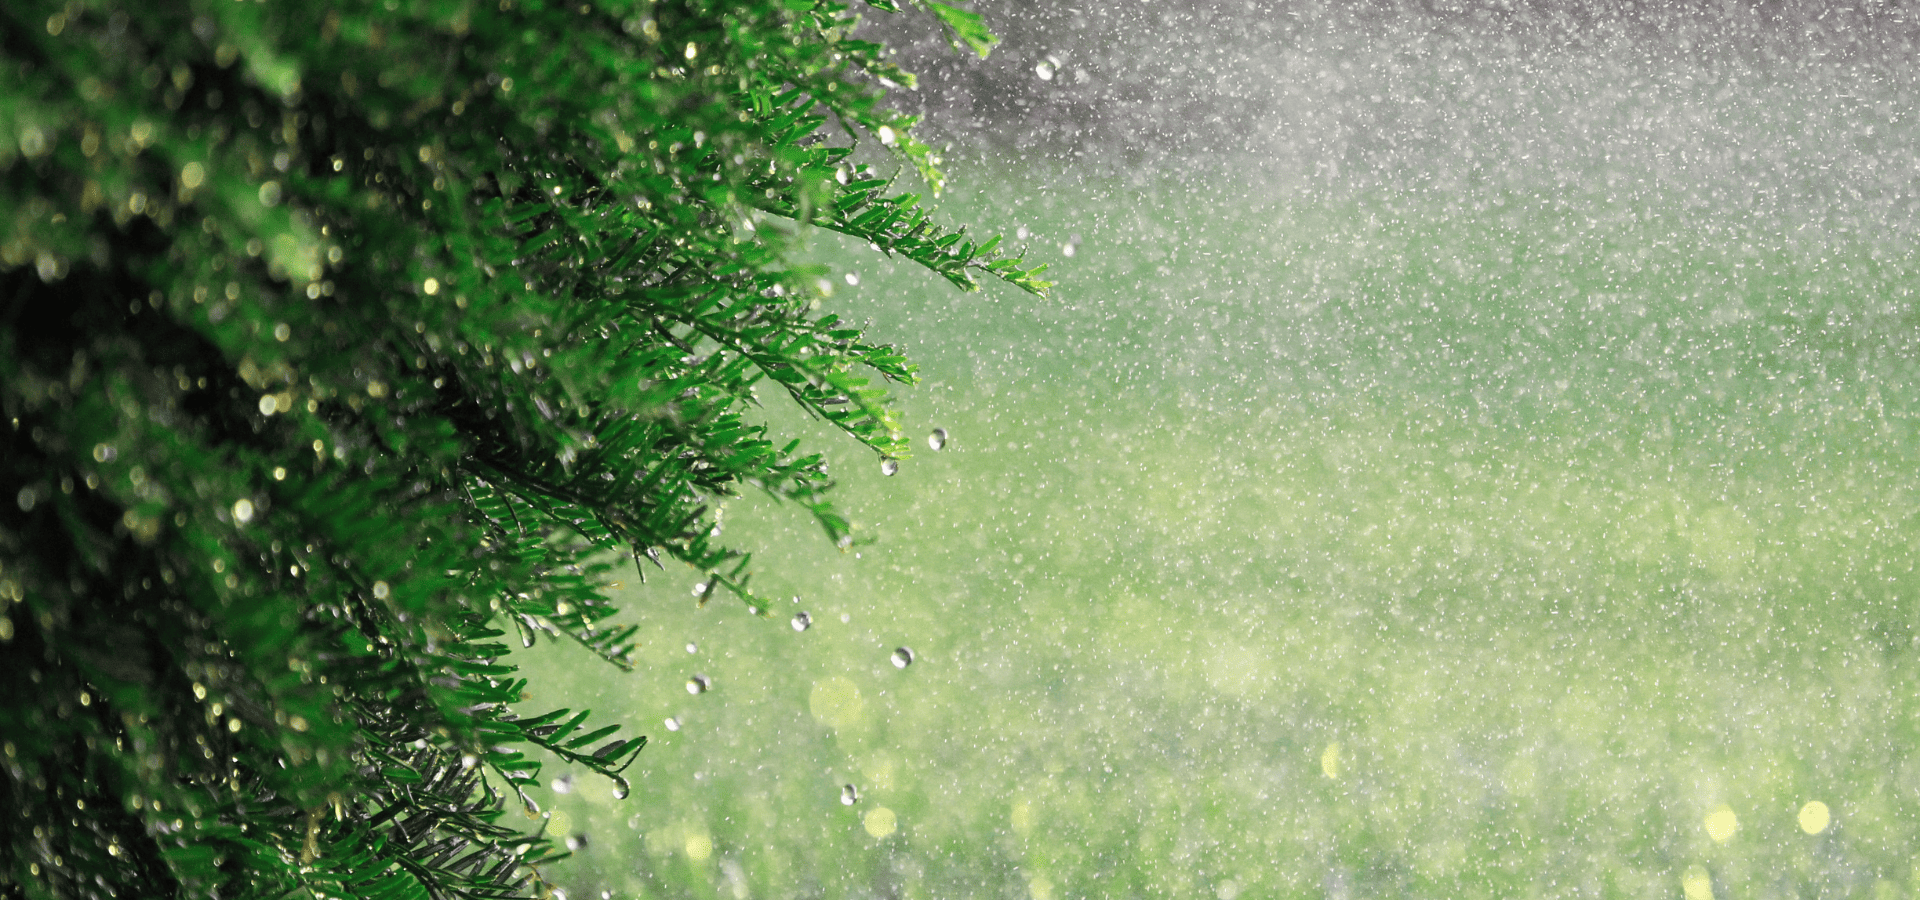
Whatever strategies you’re employing, always keep in mind that even for fire-resistant plants, they require sufficient water to remain fire-resistant.


As such, make sure to water them regularly and if you’re unable to keep up a consistent watering schedule, consider installing an irrigation system. Otherwise, you’ll be putting your home in a more vulnerable state against fire.


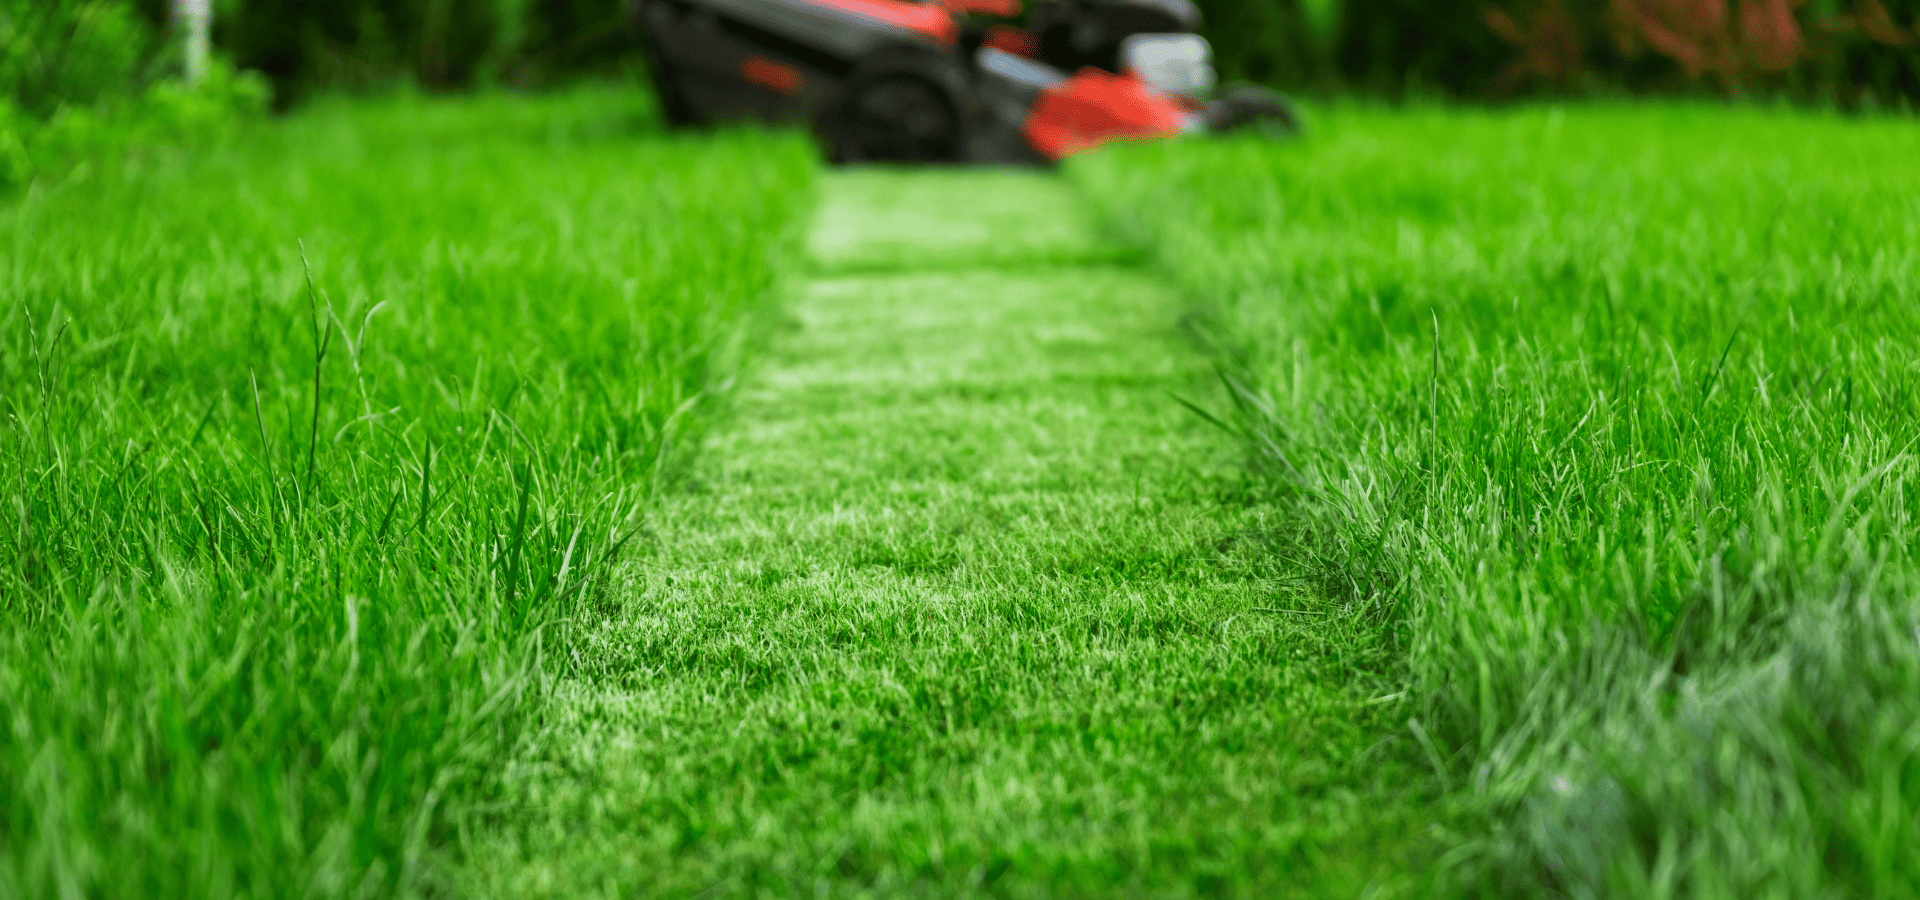
Another thing to note is that dead plants and debris catch fire easily, so no matter how well you’re able to fire-proof your space, you need to clear these up diligently and consistently.


Even the best fire-resistant landscapes require maintenance to keep them that way, so make sure not to neglect this part or it’ll diminish the effectiveness of your fire-resistant landscape.

You might also like

A rain garden in Louisville, KY, during heavy rain
July 23, 2025
In Louisville, rain doesn’t just fall- It pours. And usually in buckets. Sometimes it rains in long, lazy stretches; at other times, it’s in sudden, theatrical bursts that leave sidewalks steaming and gutters overwhelmed. But regardless of what style the buckets come in, the result of the buckets for homeowners is essentially constant soggy yards, flooded corners, and annoying runoff. Put short, the rain is a real problem for Louisville homeowners. Enter the rain garden: a low-key, low-maintenance landscape feature that nullifies these issues. A rain garden quietly intercepts stormwater, and elegantly too. It filters out pollutants and turns all that Kentucky rain into something beautiful and functional. It’s not a brand-new idea. But in a city where clay-heavy soil, dense development, and chaotic weather all collide, it’s a sharp one. More and more Louisville homeowners are catching on, especially as sustainable landscaping shifts from eco-trendy to good ol’ common sense. If you’re looking to manage water, erosion, and pollinator support and still enjoy a gorgeous yard that doesn’t feel like a retirement project, a rain garden might be exactly the answer to your problems. Let’s dig in! What Is A Rain Garden? A rain garden is a shallow, bowl-shaped depression in your yard, designed (in both structure and soil) to temporarily hold and slowly absorb stormwater. Think of it as a spongey basin, albeit one dressed in native plants. It’s engineered to catch runoff from your roof, driveway, or lawn before it runs into the storm drains. Unlike a standard garden bed, a rain garden is built to soak. Beneath the surface, it’s a mix of drainage-friendly soils. But above? It’s a layered combo of deep-rooted grasses and perennials that slow, filter, and drink up the water. But remember! It’s not a pond. Not even close: ponds hold water, and mosquitoes, and bayou vibes. A well-built rain garden drains fully within 24 to 48 hours. No standing water or creepy crawlies. Just a kitchen sink plug for your garden. Why Louisville Yards Are Prime Real Estate For Rain Gardens Louisville isn’t just bourbon and baseball bats. It’s a city shaped by water, and also one equally challenged by it. Sitting in a climate transition zone between humid subtropical and humid continental, we get long growing seasons here — and plenty of rain. Louisville sees over 45 inches of rain a year, in fact, with spring and summer bringing the kind of downpours that can soak a lawn in seconds. Then there’s the soil. Much of Louisville is built on dense, clay-heavy earth that clings to water like it’s hoarding for winter. That means slow drainage, compacted lawns, and yards that can turn into a full mud bath, even with modest rainfall. Pile on Louisville’s urban development, infill housing, paved-over yards, and impervious surfaces galore, and you’ve got a city with some serious runoff problems. Rain gardens are custom-built for this exact chaos. They: Slow and absorb runoff before it overwhelms the city’s stormwater system Prevent erosion in sloped or frequently saturated spots Filter out oils, chemicals, and sediments before they reach Beargrass Creek or the Ohio River And help recharge groundwater in areas that desperately need better water management So basically, they’re a net positive. Rain gardens are good for your yard, your foundation, your neighborhood… And your conscience. :) But Don’t I Need A Big Yard?
Lawn in Louisville, KY, mowed with a riding lawn mower
July 16, 2025
Lawns in Louisville, KY, for better or for worse, come with their fair share of complexities. Have you ever looked out from your Louisville home and wondered, “Why does my lawn look like a battlefield in May and a jungle by October?” Well, you’re not alone. Lawn care in this city is a year-round negotiation. Our climate doesn’t sit neatly in one category. We’re not Southern enough for warm-season grasses to thrive without risk, and we’re not Midwestern enough to coast on mild seasons either. Instead, we get a blend of hot, sticky summers, brisk winters, yo-yoing spring temps, and just enough rain to keep you guessing. Unfortunately, if your lawn here feels like it’s constantly one step behind, the truth is that it probably is. That’s not that you’re doing it wrong: most people are doing it wrong here!. Basically, all generic lawn care advice just isn’t able to match the tempo of Louisville weather. But this guide does. We’re not here to throw a one-size-fits-all checklist at you. We’re here to map out a rhythm that actually works — the right moves at the right time, all tailored to the transitional chaos of Zone 6b/7a’s turf life. Let’s talk timing, timbre, and turf sanity in Kentucky's wild weather zone. Know Your Lawn Type  Before you start sharpening mower blades or tossing fertilizer around like confetti, you need to know what kind of grass you’re actually working with. Louisville is smack in the “transition zone”. That means lawns in the Louisville area can technically support both warm-season and cool-season grasses. But that doesn’t necessarily make things easy. Most homeowners, rather wisely, stick with cool-season turf blends like: Tall Fescue: Tough, drought-tolerant, deep-rooted — Louisville’s local MVP. Kentucky Bluegrass : A bit fussier, but it will grow drop-dead gorgeous if managed right. Perennial Ryegrass : Fast to germinate, and often used for overseeding. You’ll also spot warm-season grasses like zoysia or bermudagrass in some yards. However, grasses built for warmer climates like those tend to throw in the towel when winter punches back. Either way, the first step of your lawn care schedule in Louisville is to simply identify what you’re working with. At the broadest level, if your grass peaks in spring and fall, then fades in high summer, you’re probably working with a cool-season variety. So, build a lawn care schedule that follows that rhythm. Spring Lawn Care
Low-maintenance rental property landscape with an artificial turf and native plants
March 26, 2025
Landscaping can bring up the value of your rental property and help you fetch a higher price on the market. However, while tenants may appreciate the landscaping, your tenants likely aren't going to place a huge focus on it since it's not their place and they won't be staying there permanently. As such, it doesn't make sense for you as a landlord to invest heavily in landscaping . You still want the landscaping to bring up the value of your home though. So the key is to find a balance of enhancing your aesthetics to boost curb appeal while not overdoing it to the point where tenants wouldn't be willing to pay more for a nicer outdoor space. This means you should be focusing on cost-effective landscaping projects that can help you get a better price for your rental home and that don't require too much maintenance. Here are the best landscape projects for rental properties as well as some additional considerations when landscaping your rental property. Important Considerations  When you landscape your rental property, you don't want to create an outdoor space that requires lots of maintenance. Otherwise, you'll either have to be the one doing the maintenance work or have to hire a professional landscaper to do it, which is extra cost. The point of landscaping is to allow you to earn more from your property, so it doesn't make sense if you're going to end up earning less from your property than you would if you didn't have to perform the landscape maintenance in the first place. Still, no landscape in the world can require zero maintenance. The key is to make this maintenance minimal so that you can easily do it yourself and the maintenance work will only need to be done ideally only once per month or even quarterly. The watering of plants is usually a key concern though as it needs to be done daily. Landlords will need to make it clear whether the tenant is expected to water the plants. If you want to make your property more attractive to your tenants, it's worth investing in irrigation systems that can automate the watering as well as reduce the maintenance burden on you if you're the one doing the maintenance. Finally, make sure not to have any particularly expensive features and elements, whether it's for your outdoor area or in your own home. Your tenant’s stay should be comfortable, so bigger investments like a good temperature control system that enhances their living experience are fine and will fetch you a higher price. However, expensive elements, especially those that don't add much or any practical value, should be avoided. First of all, while we don't want to question their integrity, expensive items create the temptation for theft. More importantly though, you can't assume that your tenants will take good care of your place like you do. After all, it's not their place. You should have taken two months’ deposit or so from them and set it aside to cover any necessary repairs, but even so, it's simply not worth investing in unnecessarily expensive items that won't help you get a higher price. An affordable resin-wicker outdoor sofa will do the same job as an expensive leather one. And both would likely get you the same price for your home. The point is, don't invest in unnecessarily expensive elements that won't serve much practical purpose. Now that you know what to keep in mind when landscaping your rental property, let's go over the best projects to fetch you a better price. 1. Outdoor Living Spaces